Whether you're planning a cross-country road trip, a weekend camping adventure, or transporting temperature-sensitive food items, dry ice offers a powerful solution for food preservation while traveling. Unlike regular ice, dry ice doesn't melt into a liquid—it sublimates directly from a solid to a gas, keeping your cooler dry and your food colder for longer periods.
In this comprehensive guide, we'll explore how to effectively use dry ice for food preservation during travel, including safety considerations, packing techniques, and practical tips for different travel scenarios.
Why Choose Dry Ice for Travel Food Preservation?
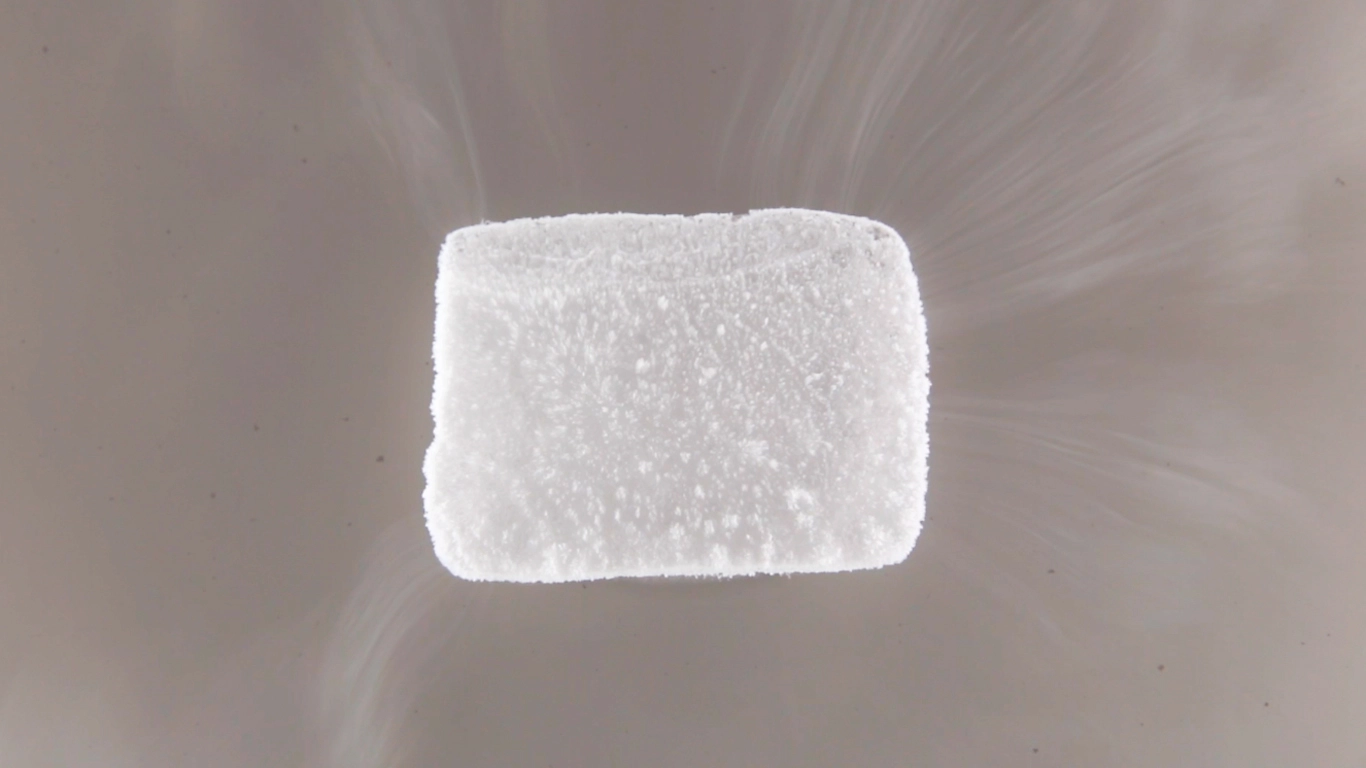
Dry ice, the solid form of carbon dioxide (CO₂), maintains a temperature of -78.5°C (-109.3°F), making it significantly colder than regular ice. This extreme cold offers several advantages for travelers:
- Longer-lasting cooling: Dry ice typically lasts 18-24 hours in a standard cooler, compared to regular ice which may only last 12-18 hours.
- No water mess: Since dry ice sublimates into gas rather than melting into water, your food stays dry and doesn't become waterlogged.
- Space efficiency: Dry ice provides more cooling power per volume than regular ice, leaving more room for food.
- Food safety: The colder temperatures help prevent bacterial growth more effectively than regular ice.
Safety Considerations When Traveling with Dry Ice
Before packing your cooler with dry ice, it's essential to understand the safety precautions required:
Important Safety Warnings
- Never touch dry ice with bare hands - Always use insulated gloves to prevent frostbite or "dry ice burns."
- Ensure proper ventilation - As dry ice sublimates, it releases carbon dioxide gas, which can displace oxygen in enclosed spaces. Never store dry ice in airtight containers or small, unventilated areas like car trunks.
- Keep away from children and pets - Store dry ice where curious hands or paws cannot reach it.
- Use appropriate containers - Store dry ice in insulated coolers that can withstand extreme cold, but never in completely airtight containers that could build pressure and rupture.
How to Pack a Cooler with Dry Ice for Travel
Proper packing technique is crucial for maximizing the effectiveness of dry ice while traveling:
Step 1: Choose the Right Cooler
Select a high-quality, thick-walled insulated cooler. Styrofoam coolers can work but may crack under extreme cold, so hard-sided coolers are generally more reliable for travel. Larger coolers with thicker insulation will maintain cold temperatures longer.
Step 2: Pre-Chill Your Food and Cooler
Pre-cooling both your food and the cooler itself significantly extends the life of your dry ice:
- Refrigerate or freeze food items before packing
- Pre-chill your cooler by filling it with regular ice for a few hours before your trip
- Remove the regular ice and dry the cooler before adding dry ice
Step 3: Prepare the Dry Ice
Dry ice typically comes in blocks or pellets:
- Blocks: Last longer and are ideal for extended trips
- Pellets: Provide more surface area for faster cooling and can be distributed more easily around food items
Wrap the dry ice in several layers of newspaper or brown paper to slow sublimation and provide insulation between the dry ice and your food (to prevent freezer burn).
Step 4: Strategic Packing
Optimal Packing Arrangement
For the most effective cooling, follow this layering approach:
- Place wrapped dry ice blocks at the bottom of the cooler
- Add a layer of insulation (cardboard, thick towel, or foam)
- Place frozen foods directly above this layer
- Add another insulation layer
- Place refrigerated items on top
- Fill empty spaces with crumpled newspaper for additional insulation
For pellet dry ice, you can alternatively place it on top of the food, as the cold air will naturally sink downward to cool the entire contents.
Step 5: Minimize Opening the Cooler
Each time you open the cooler, you release cold air and accelerate the sublimation process. Plan your meals to minimize the number of times you need to access the cooler, and consider using a separate cooler for frequently accessed items like beverages.
Dry Ice Food Preservation for Different Travel Scenarios
Road Trips
For long-distance road trips, dry ice is particularly valuable:
- Place the cooler in the passenger compartment rather than the trunk when possible
- Ensure some ventilation by keeping a window cracked slightly
- For trips longer than 24 hours, plan to replenish dry ice along your route (use our supplier directory to locate sources)
- Consider using a combination of dry ice (for frozen items) and regular ice (for items that shouldn't freeze)
Camping and Outdoor Adventures
When camping or hiking, dry ice offers significant advantages:
- Use smaller pieces of dry ice to match your shorter-term needs
- Keep the cooler in shade whenever possible
- Cover the cooler with a reflective blanket or tarp during the day
- Bury the cooler partially in the ground at your campsite for additional insulation
Air Travel Considerations
If you're flying to your destination and plan to use dry ice for a subsequent road trip or camping adventure:
- Dry ice is generally not permitted in carry-on luggage
- Most airlines allow limited quantities of dry ice in checked baggage with proper packaging and labeling
- Check with your specific airline for their regulations before traveling
- Consider purchasing dry ice at your destination rather than transporting it by air
Food Types and Dry Ice Compatibility
Not all foods respond the same way to the extreme cold of dry ice:
Ideal for Dry Ice Cooling:
- Meats and seafood: Stays frozen solid, extending shelf life significantly
- Frozen desserts: Ice cream and other frozen treats remain solid even in hot weather
- Pre-frozen meals: Maintain their frozen state throughout your journey
Requires Insulation from Direct Contact:
- Fresh produce: May freeze and become damaged if placed too close to dry ice
- Dairy products: Can be frozen by dry ice, altering their texture
- Beverages: May freeze and expand, potentially rupturing containers
Preventing Freezer Burn
To prevent freezer burn on items that shouldn't freeze solid:
- Use a dual-cooler system: one with dry ice for frozen items and another with regular ice for refrigerated items
- Create insulation zones within a single cooler using cardboard dividers
- Wrap sensitive items in multiple layers of newspaper or towels
How Much Dry Ice Do You Need?
Calculating the right amount of dry ice for your trip depends on several factors:
- Trip duration: Plan for approximately 10-20 pounds of dry ice per 24-hour period, depending on cooler size and quality
- Cooler size: Larger coolers require more dry ice to maintain cold temperatures
- Ambient temperature: Hotter environments accelerate sublimation
- Frequency of opening: More frequent access requires additional dry ice
As a general guideline:
- Weekend trip (2-3 days): 15-30 pounds of dry ice
- Extended trip (4-5 days): 30-50 pounds of dry ice with potential replenishment
Where to Purchase Dry Ice for Travel
Dry ice is available from various sources:
- Grocery stores (particularly larger chains like Kroger, Safeway, and Albertsons)
- Dry ice suppliers (use our directory to find local options)
- Some gas stations in rural or camping areas
- Shipping and packaging stores
Call ahead to confirm availability and pricing. Purchase dry ice as close to your departure time as possible, ideally within 24 hours of starting your trip.
Creative Food Preservation Strategies for Extended Travel
For longer journeys, consider these advanced strategies:
The Staged Cooling Approach
This method maximizes dry ice efficiency for extended trips:
- Pack foods in order of consumption, with items to be used last at the bottom
- Place dry ice blocks strategically to create temperature zones
- Replenish with smaller amounts of dry ice as needed during your journey
Vacuum Sealing + Dry Ice
Combining vacuum-sealed food packages with dry ice cooling creates an extremely effective preservation system:
- Vacuum-sealed packages prevent freezer burn
- Compact packaging allows for more efficient use of cooler space
- Pre-portioned meals simplify meal planning and minimize cooler opening
Environmentally Friendly Disposal
When your trip is complete, proper disposal of any remaining dry ice is important:
- Never dispose of dry ice in trash cans, drains, or toilets
- Place remaining dry ice in a well-ventilated area away from people and pets
- Allow it to sublimate completely before leaving the area
- Never bury dry ice or place it in enclosed containers for disposal
Conclusion
Dry ice is a powerful tool for food preservation during travel, offering significant advantages over traditional ice. With proper handling, safety precautions, and strategic packing, you can keep your food fresh and safe for extended periods while exploring the great outdoors or embarking on long-distance journeys.
By understanding the principles of dry ice food preservation outlined in this guide, you can enjoy fresh, safe meals throughout your travels without relying on restaurants or processed foods. This not only enhances your travel experience but can also save money and provide healthier eating options while on the road.
For more information about dry ice and to find suppliers in your area or along your travel route, explore our comprehensive directory of dry ice providers across the United States.
Quick Reference: Dry Ice Travel Checklist
- Purchase dry ice within 24 hours of departure
- Pack insulated gloves for handling
- Pre-chill cooler and food
- Layer appropriately with insulation materials
- Ensure proper ventilation during transport
- Plan for replenishment on extended trips
- Arrange for proper disposal at your destination